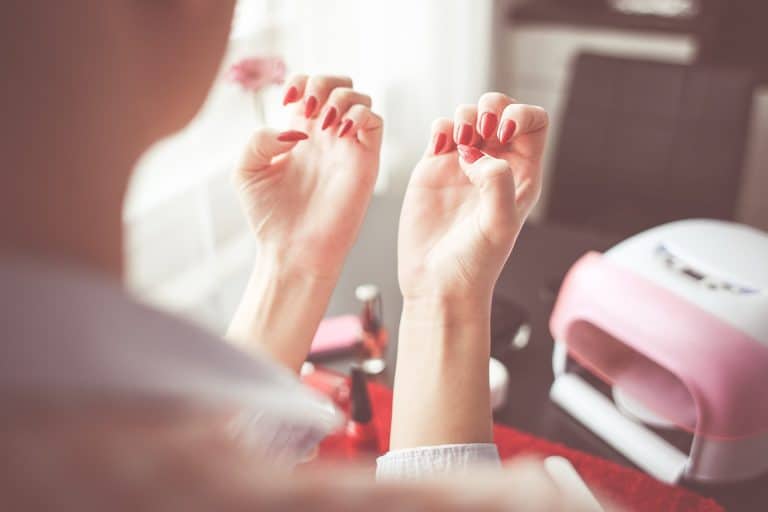
How To Remove Gel Nails At Home—Do It Like A Pro In 6 Steps

One of the biggest advantages of gel nails is their long-lasting nature, and although you can easily rock your gel set for about two to three weeks, there comes a point in time where your manicure is no longer looking so fresh.
With the inevitable grow-out of your natural nails, it could be tempting to peel and pick at your gel varnish—but there’s a better (and safer) way of removing your gel mani, which you can do at home, sans ruining your natural nail plate! Learning how to remove your gel nail polish at home is a breeze, and with our help, you’ll be able to implement your own in-home mini salon with just six simple steps.
Table of Contents
Assemble your supplies
So, how to take off gel nails? You won’t need any ultra-professional tools for removing your gel manicure, you’ll be able to easily remove existing gel polish with a few simple gadgets that can be bought from your local drugstore or may already even exist in your home. Here’s what you’ll need to do the job:
- Cotton pads
- Tinfoil*
- Acetone
- Nail file
- Nail buffer block
*Cut the tinfoil into ten, three-to-four-inch squares—the purpose of these will be to fit over each nail, so you’ll want to cut them into the most optimal size.
Step one: file
Before we get down to the actual removal, the nails need to be prepped in order to efficiently take off your gel polish, and doing so starts with gently filing the outermost layer of the varnish. The goal here isn’t to completely file away the polish, which could damage your nails—instead, using your nail file, lightly buff your nails to remove the shiny surface layer.
Step two: soak
Apply some acetone to each cotton pad so that they are fully saturated. Using acetone-based nail polish remover is the key here, as it’ll effectively break down the gel formula, as opposed to regular nail polish removers.
Step three: wrap
Once your cotton pads are thoroughly soaked in the acetone, you’ll apply one to each fingernail and wrap it tightly using a square of tinfoil to hold it in place, repeating this step until all ten of your fingernails are wrapped.
Step four: wait
If you’ve managed to successfully wrap your nails, it’s time to kick back and take a breather. For the next 15 to 20 minutes feel free to set a timer and flip through a magazine, watch an episode of a show, or listen to your favorite playlist while the acetone works its magic.
Step five: unwrap
The waiting game is over—you can now unwrap your tinfoil claws, where you’ll notice that the gel polish should appear to be falling off the nail. If your gel isn’t easily sliding off, you can repeat step four by soaking a clean cotton pad in acetone and giving your nails a little more time in their wraps.
Step six: buff
When you’ve removed all the gel polish from your nails, as a final step, use your nail buffer block to remove any remaining base coat or stubborn flecks of gel for a smooth finish. If your buffer block includes different levels of grit, you’ll want to go with the side that has the highest grit possible.
Ta-da!
Just like that, you’ve managed to easily remove your gel manicure like a pro and completely from the comfort of your own home—and without an out-of-the-way trip to the nail salon! This means, your nails will already be prepped and ready for the next time you meet with your nail technician.
Be sure to bookmark this tutorial on how to remove gel nails, so that you can save time during your next in-home DIY salon session. To book an appointment to a nail salon near you, download the Booksy mobile application on your iOS or Android device, or visit www.Booksy.com to begin browsing and booking health, beauty, and wellness services in your area.


