How To Remove Shellac Nails at Home

Some days, you find yourself super busy and simply forgetting to book an appointment to get your nails (properly) removed, other days you may look at your nails, see the regrowth and say, “It’s time to get these fixed!” Whatever the case, you may want to remove your nails by yourself, at home. If you decide to do so, there are some key rules you’ll need to follow. To help you out, we’ve rounded up some dos and don’ts of shellac polish removal.
Table of Contents
First: What you should absolutely NOT do
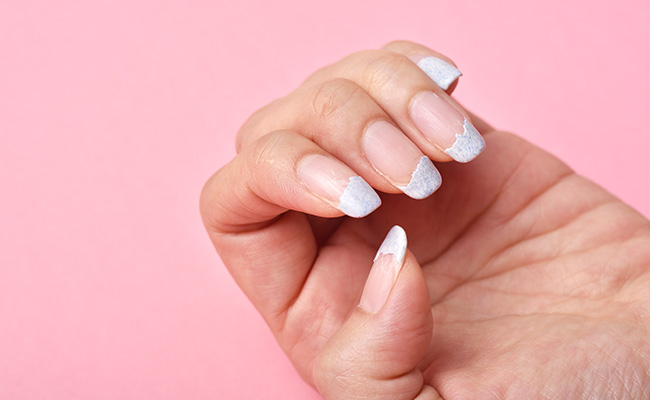
- Tearing off by force the shellac is the biggest no-no! This way you’ll have damaged nails. Not to mention, it’s also possible to get a damaged nail bed! So if you in fact do such a horrendous thing, you’ll need to prepare yourself that your nails won’t be in good condition for a pretty long time. Essentially, you won’t be able to have healthy and pretty nails naturally for weeks and even months.
- Secondly, you won’t want to cut your nails with any nail scissors or other tools. When you use nail scissors, you can make the shellac crack…and with them your nails can crack as well. A similar rule applies to biting – even after removing the manicure, we strongly discourage this habit! Please don’t do it! Biting can lead to many unpleasant infections, for example fungal infections.
- Third, when you’re filing off the top layer of shellac, you’ll need to be extra careful not to go through the nail plate. File carefully and try to leave a layer of the base on the nail.
- And finally, let’s say your manicure has not grown back enough to take it off, but something has happened to it, a chip or nick. Trust us, do not save the situation with super glue or any other such adhesives. You can really do yourself harm.
What tools are you going to need?
You’ll need a few tools to remove shellac nails by yourself. Surely you’ll have some of them already at home, while the rest can be easily ordered online, or bought in a nearby store:
- nail file
- nail buffer
- cuticle pusher or a wooden cuticle stick
- acetone
- nail strengthening polish
- cosmetic pads
- aluminum foil (cut into smaller pieces)
- optional: cuticle oil or a different natural oil of your choice
Pro tip: Turn on some nice background music to make it feel like you’re actually in a nail salon! Or turn on a reality show, this will definitely make the process seem less boring and more salon-like.

How to remove shellac nails
Step 1
Begin with lightly filing off the top layer of your nails. This will break the seal of the top coat and allow acetone to penetrate through all the layers. Be careful while doing this, best leave the other layers intact to not damage your nail plate. Also, be careful with the cuticles, as they can get torn while filing.
Get your nails looking flawless with just a few taps. Book your next nail appointment effortlessly
Step 2
Now you’ll want to grab the cotton pads, acetone, and aluminum foil. What you’ll be doing is essentially creating little cocoons for your nails to soak in. Pour acetone on each pad so that they’re moist, but not dripping. Place each of the pads on your nails and wrap them tightly with aluminum foil. The tighter you wrap your nails, the faster the acetone will work. Also, you’ll want to do this finger by finger so that the pads don’t fall off.

Step 3
The next step is letting your nails soak in this acetone bath you’ve made for them. How long does it take to remove acrylic nails? Depending on the products used, it may take anywhere from ten to twenty minutes for the acetone to work its magic. To check if you’re good to go to the next step you can take a peek under the foil and pad. If the shellac has lifted from the nail and started crumbling, you can proceed to step 4.
Step 4
While doing this step you’ll also want to work one finger at a time. You’ll remove the foil and cotton pad, and then carefully scrape off the remaining polish with a metal cuticle pusher or wooden cuticle stick. Remember, don’t do anything by force! If some of the polish won’t come off, redo step 3 and then try again.

Step 5
After step 4 there should be little to none of the shellac left on your nails. However, there will always be some sneaky spots. Grab your nail buffer and use its less coarse side to gently smooth your nails. This should remove any remaining spots.
Step 6
Moisturizing your nails after removing shellac is an absolute must! To do so, you can use many different products, among them being cuticle oil or coconut oil. This can really help with nail repair!
And that’s it! We hope you were able to safely remove your shellac with these few tips!