Reverse French manicure

Even today, many people are obsessed with the trendy French manicure. That’s due to its ability to make you stand out from the crowd. It’s easy to make, and you can match it with many outfits. Would you like to try a French manicure today? Then you have come to the right place. In this guide, we intend to share with you helpful tips on how you can do a half-moon manicure. But we will begin by helping you know what we mean by reverse French manicure.
Table of Contents
What is a reverse French manicure?
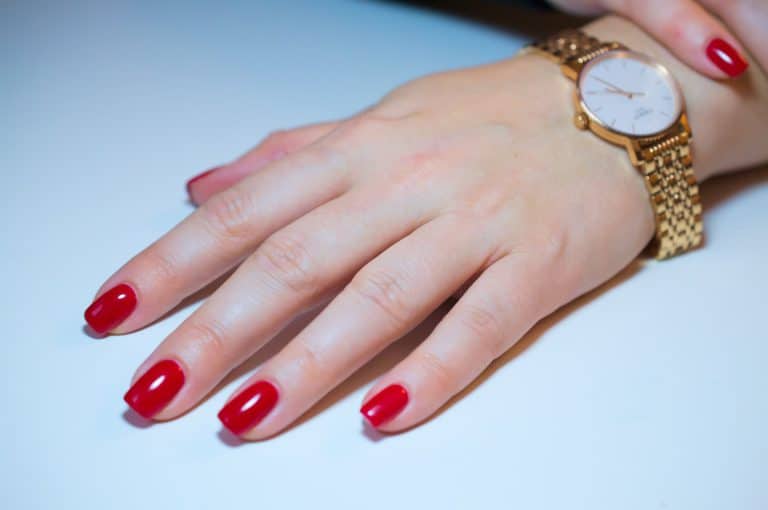
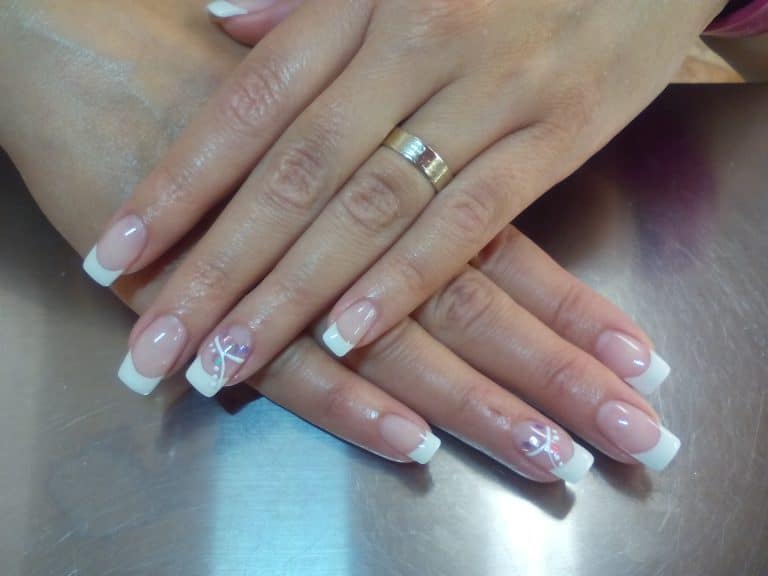
To understand the idea, let’s first understand what is meant by French manicure. French manicure involves the application of neutral nail polish on the entire fingernail and then applying a horizontal line across the tip or top of the nail. Now, reverse French manicure is the opposite of the original French design.
The reverse French manicure is the alteration of the traditional French manicure so that it looks upside-down. In this case, you’re going to use a dark colour to cover most parts of your nail. Next, take a lighter shade and apply it on the nail bed rather than at the tip of the nails. As you can see, the application process is even easier.
While you can do the reverse design at home, you might need the help of an expert, especially when trying it for the first time.
How to do a reverse French manicure at home
If you trust your ability to complete the process at home, below are the steps you should follow.
1. Clip Your Nails To Shape Them
Before you get started, you want to make sure that your nails are in the right shape. You should clip down the nails to achieve the desired size and shape. After clipping, use a nail file to smoothen up the tip of your nails. Make sure the tips of your nails have smooth, rounded shapes.
Note that the reverse French manicure looks best on longer nails – when trimming them, make sure you are still leaving them longer than your fingertips.
2. Push Back The Cuticles
To push back the cuticles, you want to fill up a bowl with lukewarm water. You want to soak up your nails in that bowl until you notice that the cuticle has gotten softer. From there, use the edge of a cuticle pusher to, well, push back the cuticles.
Note that the half-moon will be around the bed of your nails so it’s a very important step!
3. Use a Base Coat
A base coat helps your nail polish to look brighter and even more defined. Before you begin applying your desired colour for the reverse manicure, you should apply a layer of base coat on each of your nails.
Make sure the coat is dry before you apply the colour to your nails. Otherwise, you won’t be happy with the results.
4. Apply The First Colour
Note that you’re free to pick any colour combination that your heart desires! Also, the first colour you apply to your nail will be the one showing at the base. It’ll take the shape of a half-moon.
Once you’ve selected the ideal colour for the base, apply a thin layer on each of your nails. Remember to move slower to avoid messing up the polish. You want the polish to stay smooth and even.
5. Let The First Colour Dry
You must not touch your nails again until the first layer of the polish has completely dried. It takes one to two hours for nail polish to dry. That’s why you should always plan ahead when you want to do a reverse manicure at home.
6. Second Coat
Now is the right time to apply the second layer to your nails. Nothing will get ruined if the first coat has dried completely.
If you have reached this stage, then you’re almost done doing a reverse French manicure at home. The second coat might take one to two hours to dry completely. Until then, refrain from touching your nails.
7. Remove Stickiness
Take round bandaids and use them to create the half-moon shape at the top of your nails. Be careful not to use bandaids that are too sticky, as they might peel off the entire polish and ruin everything.
It’s okay to use your hand to remove some stickiness from your bandaid before using it on your nails. From there, remove your bandaid from the wrapper and place it on your hand for a few minutes.
You’ll notice that it’s less sticky when you finally place it on your nails.
8. Place Bandaid on Your Nail
To achieve the half-moon shape, apply the less sticky bandaid to your nails. It should be at the bottom of your nail. Make sure half of the bandaid lies on your nail while the other part lies on your skin underneath. That way, the bandaid will form the half-moon shape on your nail.
9. Paint Your Nail Tips
Now is the time to apply your second colour. You should apply the second colour at the tip of your nail. Note that you have not removed the bandaid from your nail, so it’ll act as a barrier. That way, it’ll keep the half-moon shape intact as you apply the second colour.
For the best results, you might want to add two layers of your second nail polish.
10. Slowly Remove the Bandaid
You’re done with the process. Slowly remove the bandaid from your nail and see your result. Your nails should have two colours, with one of them forming the half-moon shape at the base of the nails.
Voila – your reverse French manicure is ready!